Ghostrunner 2 Hacker's Den Guide
Jun 6th '24 3:29am:

**1. Memory Shard 1**- At the start of the chapter, when the first enemy is in front of you, before sliding under the billboard, turn right toward the yellow-covered wall.


**2. Memory Shard 2** On the door under the giant letters CORNUCOPIA, which gives you access to the main park area, the memory shard is next to the shielded enemy that appears when the door opens.


**3. Memory Shard 3**- Located on the right of the lasers of the central area, head to the right, and the Shard will be in the corner.


**4. Audiolog PROPOSAL**- From the last location of the previous memory shard, turn around and jump to the air vent, grab the pole, and jump to the ledge. Then get on the grind line, but don't grind it to the end; jump midway to the broken wall; the audio should be inside.


**5. Memory Shard 4**—It is easy to identify under the other giant CORNOCOPIA sign, as there will be a wall of lasers with grind lines surrounded by water and electricity. Jump to the left grind line, and then, after passing the first wall laser, go back to the grind line on the right; the Shard is on the end of that grind line.


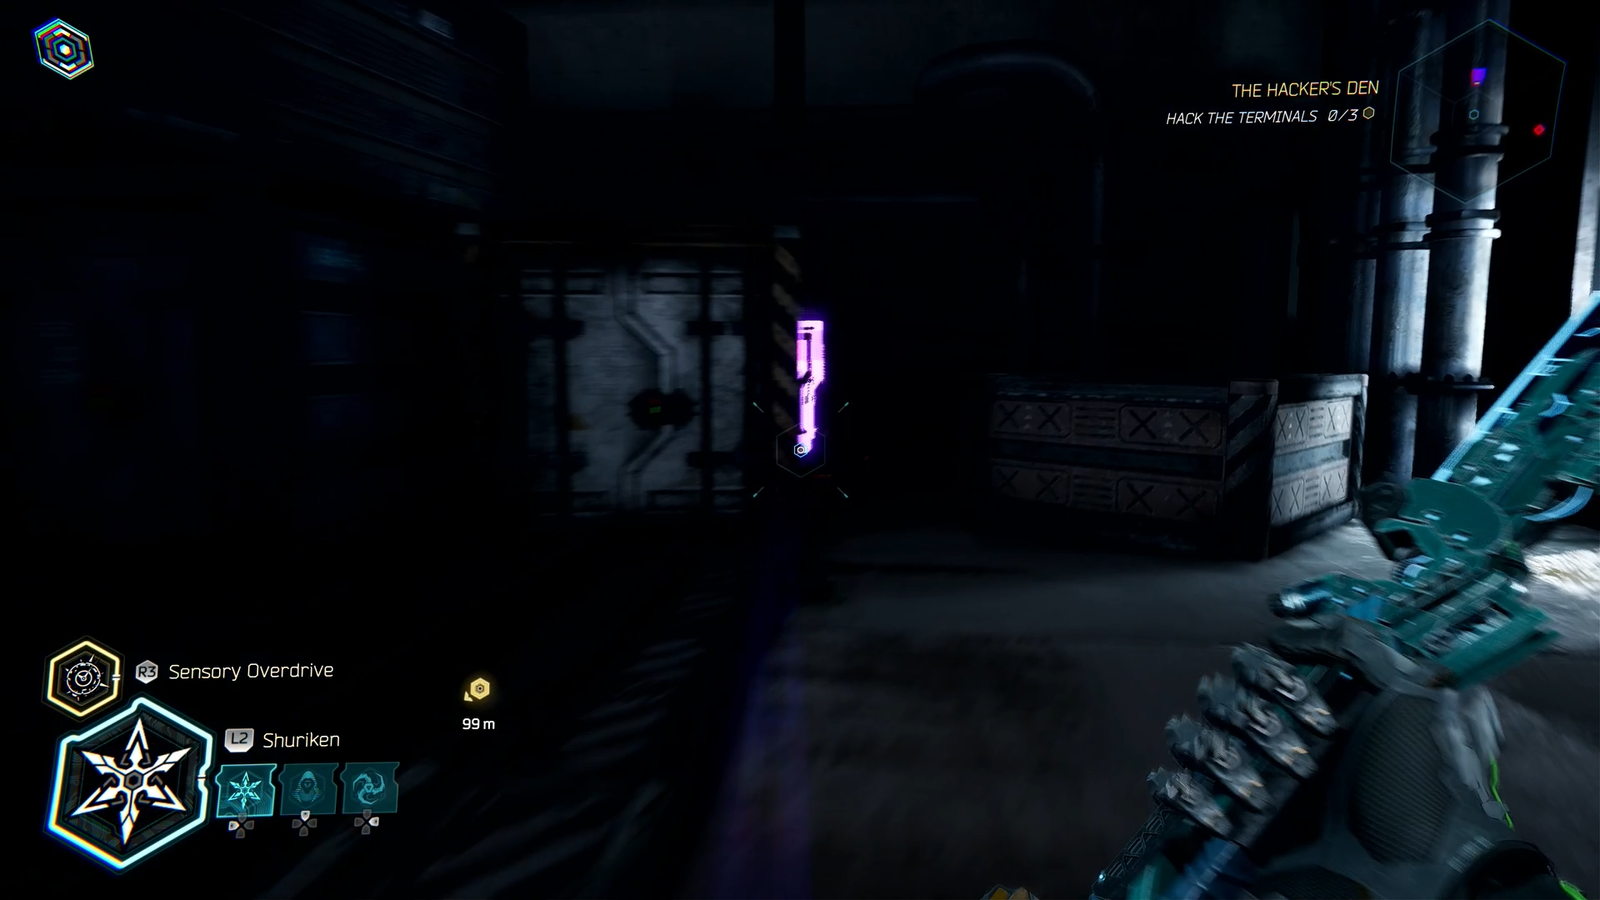
**6. Memory Shard 5**—The middle area where a door is located and is being closed. After going through the grind lines of the previous memory shard, look to the opposite side of the door next to the boxes.


**7. Artifact DIY TOY**- Right after acquiring the previous collectible, continue toward the main path, which was two enemies on the grind lines; after that, you will need to wall run three separate walls to jump to the next set of grind lines, don't jump to it. At the third wall, jump to the left and not to the right, where the grind lines are located.


**8. Memory Shard 6**—In the same area as the previous audio log, jump to the same air vent, but don't jump to the poles this time. Break the broken wall on the left. Continue the path without jumping down. At the end of the path, you will find the collectible.


**9. Memory Shard 7**—Return to the same area of the poles and broken wall mentioned before, turn left, and stand on the opposite side of the broken wall. The memory shard will be on the platform in the open, easy to spot.

**10. Memory Shard**- After jumping the grind line in front of the platform from the previous item, jump to the two grey cylinders to gain altitude to jump to the area where the memory shard is.


**11. Artifact VIDEO TAPE**- From the previous area, go down to the next zone; you can get out by the left, which gives you access to the zone with the artifact. This one is not on the open air as it is inside a hidden compartment, go to the open door on the right, then fall down to the hole.


**12. Artifact GHOSTRUNNER MINIATURE**- If you have followed the guide, the last artifact is in the previous terminal beginning area. Look to the left and see a wall of lasers with the artifact behind it. To access it, break the wall on the left and wait for the moving lasers to go away, but be quick with the steps as they come and go. As soon as you have the opportunity, quickly step to the middle area, wait for it to go, and then try to step to the final portion of that puzzle to acquire the artifact.


